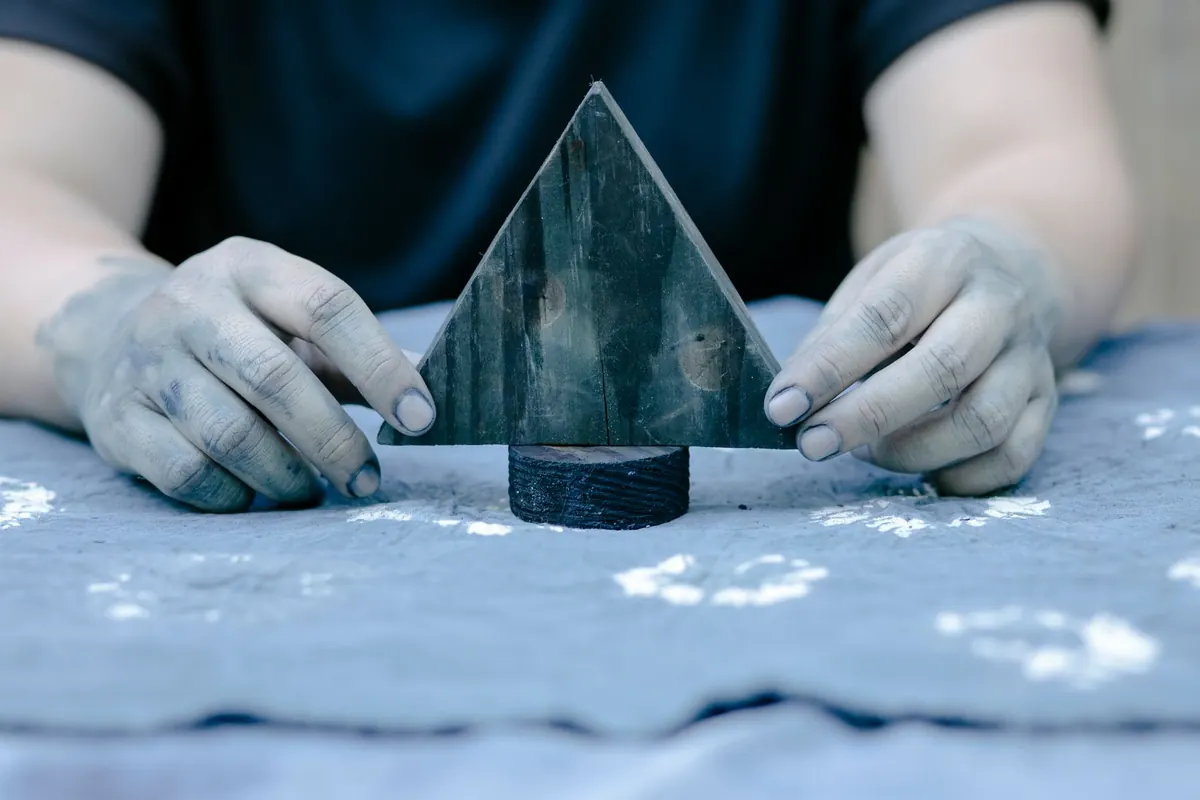
There is a particular satisfaction in pulling a print by hand: the press of the block, the small pause as you lift it, the first look at a motif that did not exist ten minutes ago. Fabric makes it better still, because a pattern turns a length of plain calico into something you will actually use — a tea towel, a cushion, a shirt that fits exactly as you want it to. The technique is easy enough to learn in an afternoon. The tricky part, as most beginners discover, is not the carving but the repeat: lining up motif after motif so the eye reads a pattern rather than a row of wobbly stamps.
What you need before you start
Nothing on this list is expensive, and most of it will outlast several projects. Assemble it before you begin, otherwise you will be hunting for a pencil with inky fingers.
- Lino or vinyl block. Traditional grey lino is cheap and hard-wearing; the softer vinyl "soft-cut" sheets are far kinder to your wrists and better for a first attempt.
- Lino cutting tools with a handle and interchangeable blades. A V-gouge for fine lines, a U-gouge for broader marks.
- A bench hook or non-slip mat to hold the block still while you carve.
- A roller and an inking plate. A piece of glass with taped edges works well, or an acrylic sheet.
- Water-based block printing ink, or fabric screen-printing ink if the piece will be washed often.
- A padded printing surface. MDF covered with a couple of layers of felt, an old blanket or thick wool fabric. The padding is what pushes ink into the weave.
- Pre-washed, ironed fabric. Cotton, calico and linen print beautifully; heavily textured weaves will fight you.
- A baren, a wooden spoon or a firm hand for burnishing.
- Masking tape, tailor's chalk, a pencil and plenty of newsprint for test prints.
- For sponge printing: a dense kitchen sponge or a sheet of upholstery foam, plus a craft knife.
Designing a motif that repeats
Simple shapes survive repetition far better than intricate ones. A single leaf, a stripe with a nick in it, a rough circle, a small abstract seed — all of these look considered once they are printed twenty times across a metre. Fine detail disappears into fabric weave, so draw boldly.
Work at a size you can hold comfortably: for a first block, roughly 5–8cm across is a good range. Smaller motifs mean more of them, which means more chances to drift out of alignment. Draw the shape on tracing paper, then use the same paper as a template to draw it again in the next square along, and the next, so you can see how the eye will read the spacing. If it looks satisfying on paper at three or four repetitions, it will work on cloth.
Carving the block
- Transfer your design. Draw it in pencil on tracing paper, turn the paper face down onto the lino, and rub the back with a fingernail or the bowl of a spoon.
- Decide what prints. Whatever you leave standing will pick up ink; everything you cut away stays as bare fabric.
- Cut the background away first, then work into the detail, taking shallow passes rather than trying to remove a lot at once.
- Keep your free hand behind the blade and always cut away from your body. A sharp blade is safer than a blunt one because it needs less force.
- Test print early. Roll a thin layer of ink, press onto newsprint, and see what the block actually does rather than what you imagined.
Sponge printing: the quicker route
If you want to see results in half an hour, cut shapes from a dense sponge or a sheet of upholstery foam. Dab the sponge lightly on the inked plate, then press it onto the fabric with a firm, even hand. The edges will be soft and slightly broken, which suits organic shapes — leaves, pebbles, loose marks — and looks beautifully hand-made on linen. It is less suited to crisp geometric repeats, because the sponge compresses and the shape widens under pressure. Keep a piece of scrap fabric beside you and dab off the excess before each impression; a dry sponge gives a much better print than a sodden one.
Registration: the part that makes a pattern
Build a printing board
Screw two wooden battens along adjacent edges of your padded board to form an L. Butt the corner of your fabric against that L every time you reposition it, and the fabric cannot creep. Pin or tape the cloth down flat before you print a single motif.
Mark your repeat
Draw a pencil line around the corners of the block on its printing face, or tape a fine cross at its centre, so you can see exactly where it will land. Mark your starting points along the batten with pencil, spacing them to match the motif width. For a half-drop repeat, offset every second row by half a motif, and mark those points too. A strip of masking tape laid straight across the fabric gives you an edge to butt each block against.
Print in a rhythm
Work from top to bottom and from left to right, keeping the wet prints above and away from your working hand. Do not go back to fill a gap you have already passed; you will smudge what is there. Press the block down evenly, burnish the back with a baren or spoon in small circles, then lift it straight up. A sideways lift drags the print.
Ink, pressure and fixing
Roll the ink out on the plate in both directions until it looks even and sounds faintly tacky. Too much ink gives blobs and bleeding edges; too little gives a patchy grey that fades as the block dries out. Reload every two or three prints rather than every print.
When the fabric is dry, heat set the print according to the ink manufacturer's instructions — for most fabric inks this means ironing on the reverse, without steam, once the print has fully cured. Some ask you to wait a day before ironing, so read the tin rather than guessing. Wash finished pieces inside out on a cool cycle and line dry. If you are working with anything other than water-based inks, ventilate the room and read the safety information before you open it.
Start with a metre of calico
Buy the cheapest calico you can find and print the whole metre, badly if necessary. Print a test strip first to set your spacing, then commit. Variation between impressions is not a fault; it is what separates a hand-printed length of cloth from a factory roll, and in a repeat the eye forgives almost everything as long as the alignment holds. Keep your first block, even when you carve a better one. The second metre is where it gets good.
Photo: Teona Swift / Pexels